
Gigaset Thermostat ONE X
Quick-start guide
- for users of Smart Home
- smart care users, please follow the instructions in the smart care app
How to install a thermostat
To start thermostat up, please install the free Gigaset elements app and follow the steps and instructions. Ensure to pair thermostat with base before attaching thermostat to your chosen radiator.
thermostat has to be near base during pairing.
Also, please observe the attached notes.
Support is available directly from the app and on www.gigaset.com/support.
For more information, go to www.gigaset.com.
Instructions
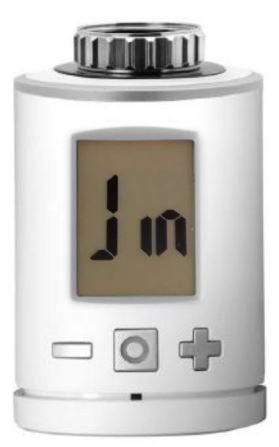
Step 1
- Remove battery cover from thermostat
- Insert batteries
- Replace battery cover
- JIN appears in the display
Step 2
Thermostat has to be near base. Launch the Gigaset elements app and click on “Elements”; press add “+”; select “thermostat” and follow the instructions.
Only attach thermostat to the radiator when prompted by Gigaset Elements App.

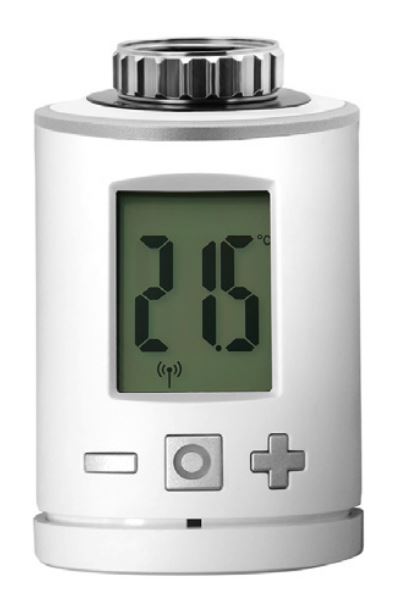
Key to display
 Information on mechanical functions
 Information on wireless connection and add functions
 Lights up when battery charge is less than 15%
 Lights up when child safety lock is activated
 Light remains on in combination with desired temperatures
Click
Reduce desired temperature by 0.5°![]()
Click
Increase desired temperature by 0.5°
Hold
Reduce desired temperature in 0.5° steps![]()
Hold
Increase desired temperature in 0.5° steps
Click
Switch boost mode on or off![]()
Simultaneously hold for 10 seconds: reinstate factory settings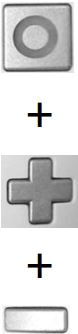
Simultaneously hold for 3 seconds: activate or deactivate child safety lock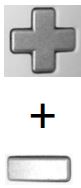
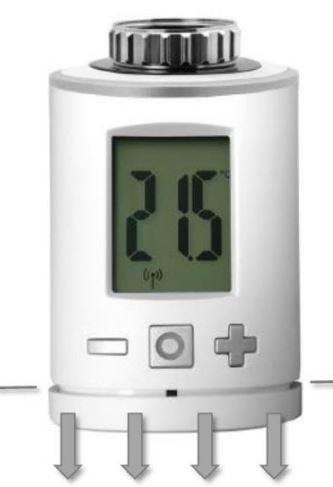
Installation of thermostat
First check the company where your radiator is from – this is because an adapter is required for fitting in some cases. Please refer to our FAQs on the thermostat for a compatibility list at www.gigaset.com/support.
- Set the radiator thermostat to the highest level – this is usually 5.
- Now you need to undo the attachment – there are differences here. There is a screwed ring on many heating systems – use a suitable screwdriver for this. On other models, you need water pump pliers.
- Then you can undo the radiator thermostat (turning it occasionally).
- Then screw the thermostat onto the heating valve. If an adapter is necessary, fit it over the heating valve beforehand.
Contents of the package
- 1 thermostat sensor
- 2 AA LR6 batteries
- 3 adapters
- 1 screw
- 1 quick-start guide
- 1 safety leaflet
Issued by
Gigaset Communications GmbH
Frankenstr. 2a, D-46395 Bocholt
© Gigaset Communications GmbH 2022 Subject to availability.
All rights reserved. Rights of modification reserved.
www.gigaset.com
REFERENCE:
DOWNLOAD MANUALS:
Gigaset Thermostat ONE X User Manual

Leave a Reply