
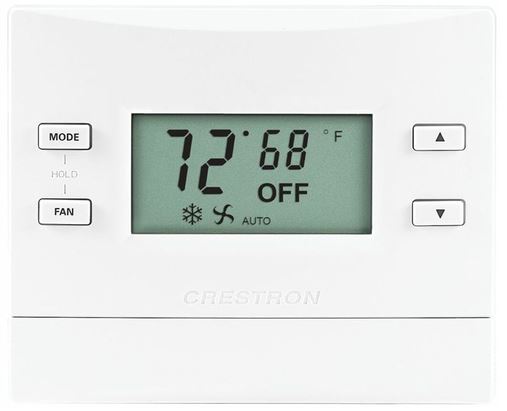
Crestron CHV-TSTAT-FCU-PIR-10 Fan-Coil Thermostat
Introduction
After installation, the Crestron® CHV-TSTAT-FCU-PIR-10 needs to be set up. Refer to the information that follows for an overview of the setup procedure. For more information on the CHV-TSTAT-FCU-PIR-10, refer to the CHV-TSTAT-FCU-PIR-10 DO Guide (Doc. 7915).
Set Up the Thermostat
A qualified technician should set up the thermostat locally. Navigate through the setup screens and make the changes necessary for the HVAC system. In most cases, default functionality is sufficient to run the system.
Enter Setup Mode
Press and hold the down button. While holding the down button, simultaneously press and hold the mode and fan buttons until the SETUP: SYSTEM screen is displayed.
NOTE: To exit Setup mode, press and hold the down button. While holding the down button, simultaneously press and hold the mode and fan buttons until the main screen is displayed.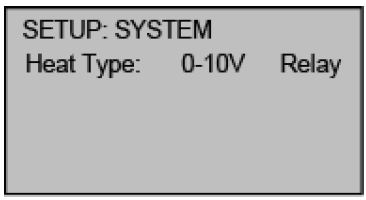
When the device is in setup mode, press the MODE button to advance to the next screen, press the FAN button to scroll vertically through the setup options on the screen, and press the up and down buttons to change the value for the selected item.
Configure
Configure the Thermostat
Use the Heat Type option to select the type of HVAC system that the thermostat is controlling.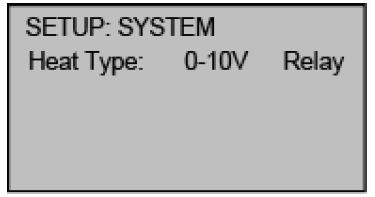
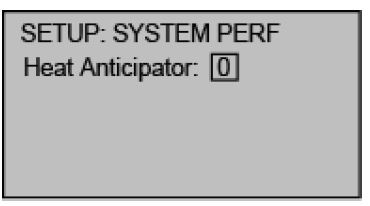
Use the Heat Anticipator and Cool Anticipator to control the steady-state regulation band size. A lower setting results in more frequent cycles and faster response; a high setting results in less frequent cycles and a slower response.
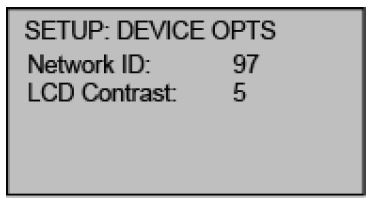
The Network ID must match the NET ID specified in the system program. Use the LCD Contrast to change the contrast of the LCD screen.
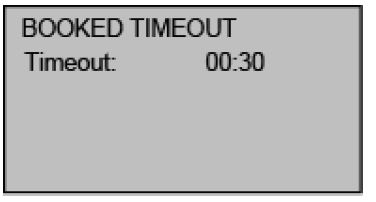
The BOOKED TIMEOUT determines how long the room must be empty, as determined by the PIR, before the room enters the vacant state. Vacancy state is defined in the control system program.
The UNBOOKED TIMEOUT determines how long the room must be empty, as determined by the PIR, before the room enters the vacant state. Vacancy state is defined in the control system program.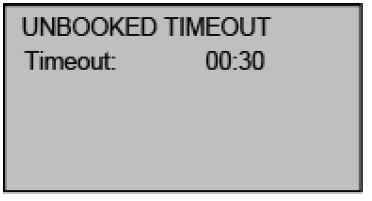
Set the minimum (Min) and maximum (Max) temperature set point for HEAT, COOL, and AUTO modes.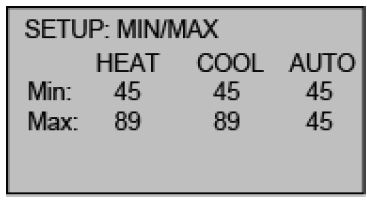
The SETUP: SERVICE/TEST screen allows testing of the unit while bypassing all system delays. The Heat, Cool, and Fan calls are settable via 0.1 V increments. When the device operates as a relay, Heat Call is relegated to ON or OFF. The PIR displays DETECTED when motion is detected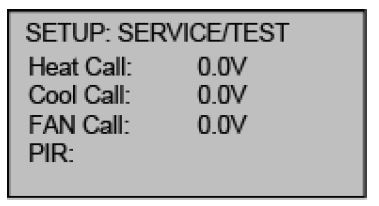
The SETUP: DISP OPTIONS screen allows adjusting of both the displayed and the regulated temperatures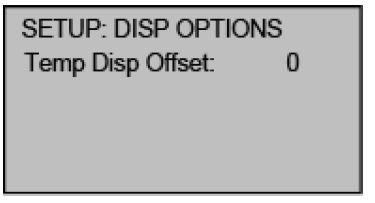
Use the SETUP: FAN VOLTAGE screen to select the voltages corresponding to the high, medium, and low fan speeds.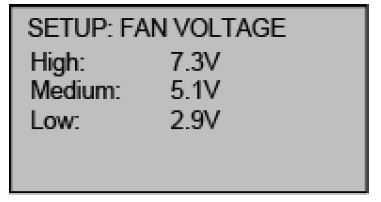
Crestron
- Crestron Electronics, Inc.
- 15 Volvo Drive Rockleigh, NJ 07647
- Tel: 888.CRESTRON
- Fax: 201.767.7576
- www.crestron.com
REFERENCE
DOWNLOAD MANUAL
Crestron CHV-TSTAT-FCU-PIR-10 Fan-Coil Thermostat Product Specification Guide
Other Manual:
Crestron CHV-TSTAT-FCU-PIR-10 Fan-Coil Thermostat User Guide
![]()
Crestron CHV-TSTAT-FCU-PIR-10 Fan-Coil Thermostat Product Specification Guide
Leave a Reply