
FASTWARM 16AMP Smart WiFi Thermostat

Download the app
Search and download the “Smart Life” application in the Google Play store or Apple Store or scan the QR code below to download the App.
Registration
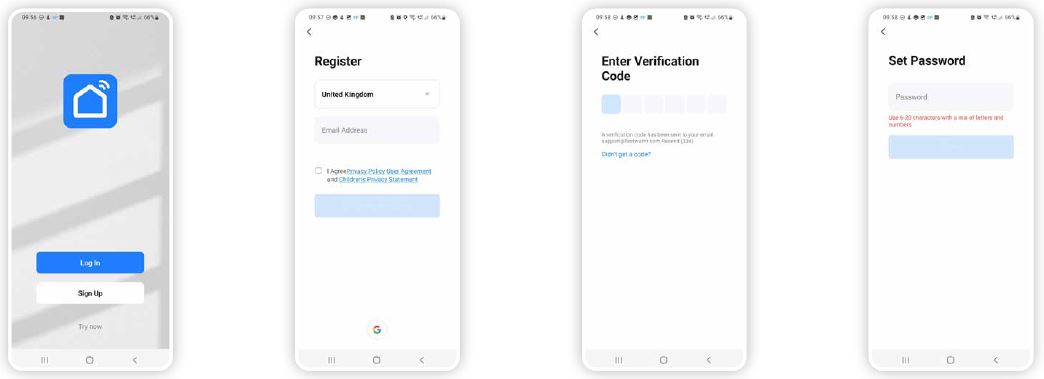
Once the Smart Life App has been downloaded and installed click open. If you are a new user you will now need to register, registration is completed by using a personal email address:
- To register click ‘Sign Up’.
- Once you have entered your details you will be sent a verification code to the email address used to create the account.
- Enter the verification code, you will then be asked to enter a password.
- Enter a password of your choice and click ‘Done’. You will then be directed to the Smart Life main page.
Forgot Your Password?
If you have forgot your password, you can reset your password by following the Password Retrieval procedure.
- Click ‘Forgot password’
- Enter the email address used to register the App and click ‘Get Verification code’
- Enter the authentication code sent to your mobile phone number or email
- Enter the new password and click ‘Completed’ to log in.
Creating location
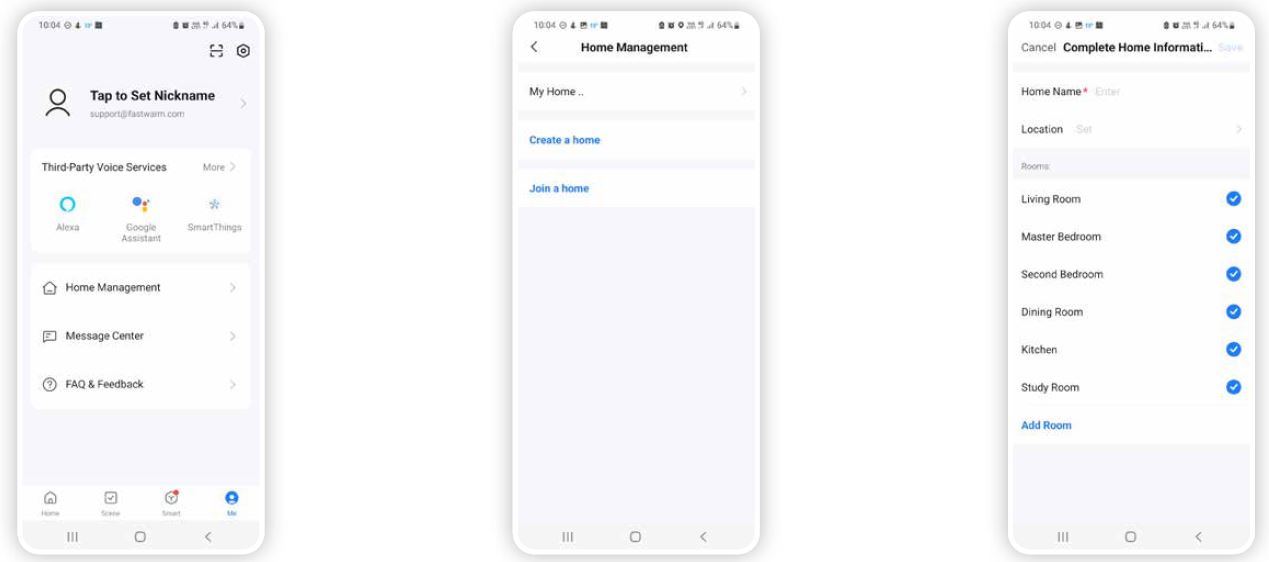
- On the home screen of the application press ‘Me’ and select ‘home management’.
- In the home management screen press the ‘>’ next to my home.
- This then allows you to amend the home name, location and select which areas are being heated or add rooms that are not shown, personalizing to your property
Adding Devices
- On the home screen of the application press ‘Add Device’ if adding a second unit press the ‘+’ symbol in top right corner.
- In the Add Manually section highlight ‘Small Home Appliance’ found on the left column of categories.
- One the right side of list of items to select scroll to the HVAC section where the thermostats can be found. The installed thermostat you will need to select / press ‘Thermostat (Wi-Fi)’.

- Ensure your mobile device WiFi is connected to your properties router and enter your routers password. This can be found on the underside of your broadband router once entered ‘press Next’.
- Now confirm the indicator is blinking.
- Please refer to page 9 for quick blink guidance or, page 10 for slow blink guidance.

Wi-Fi Reset steps
On the thermostat press and hold the and arrow together for 10 to 15 seconds until F1 or F2 appears. Select the status of the indicator light / beep / Wi-Fi icon.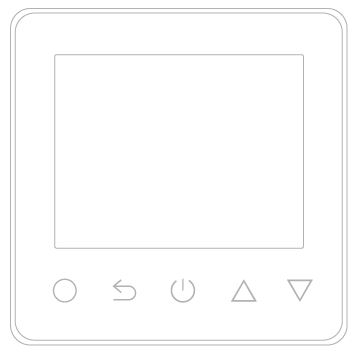
Blink Quickly F1 Mode (Default)
This will sync /pair with thermostat requiring no further steps. Countdown clock will appear to start pairing process below counter is the progress bar which will indicate a successful
Blink Slowly F2 Mode (Wi-Fi Reset Required) pairing.
Following the steps within the app this will ask you to Connect your mobile phone to the device’s hotspot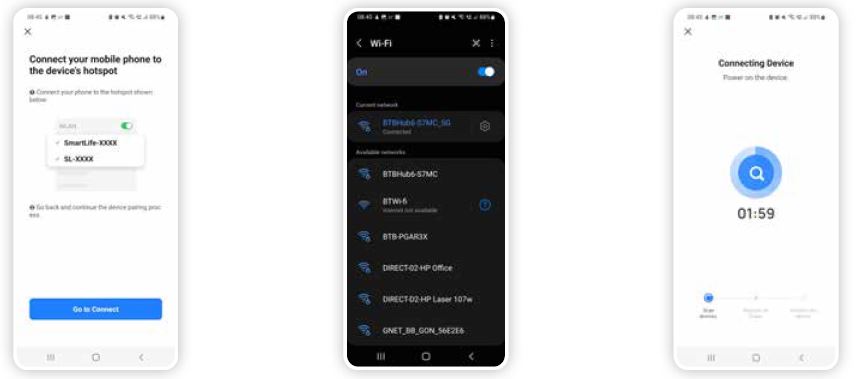
- Press “Go to Connect”. Following on from the previous step this will take you into the Mobile Phones Wi-Fi setting where there will be displayed a new Hotspot Called Smartlife- XXXXX which Is selected.
- Once successfully connect to this hotspot return back into the Application following phone procedure to return into previous opened applications.
- Countdown clock will appear to start pairing process below counter is the progress bar which will indicate a successful pairing
Family & Member Management
To create a family:
- Click the ‘Me’ icon and then “Family Management”
- Click on the “Add family” and enter the family name, this can be anything you like, a family is set up so members can be added to control the devices within that family. At this point you can also set your location, this is useful for heating products as the weather data can be used to control your heating, move the icon manually to change the location if needed and click “Confirm” to confirm the location.
You can also select from a list of rooms with smart devices in this screen, to add a room:
- Click ‘Add Room’ and enter room name.
- Once complete click ‘Done’ in the top right corner of your screen.
Adding Members to a Family
If you require other people in your home to have access to the smart products they must be added as a member to the family already created, to do this
- Click the ‘Me’ icon and then “Family Management”
- Select the family you would like to add the member too and click ‘Add Member’
- Add the name of the family member and the email address or phone number they used to register with the Smart Life App
To Accept an Invitation
Invitations will appear in the Message Centre, click ‘Family’ on the top of the screen to see the invitation to accept or decline the invitation click the drop down in the top right corner of the screen and either accept or decline. Once accepted the family name will appear in the drop down, click on the family to control all devices added in that family
Me
- Family Management Add a family and members
- Message Centre Messages will appear here such as updates and invites
- FAQ & Feedback Useful information on setup
- More Services Other useful App’s that can be used with the Smart Life App such as Amazon Alexa and Google Assist
SETTINGS
- Sound On/Off
- Push Notifications Enable notifications on/off Alarm – on/off Do not disturb schedule – this requires setup Family – allow/do not allow Bulletin – (notifications) allow/do not allow.
REFERENCE:
DOWNLOAD MANUALS:
FASTWARM 16AMP Smart WiFi Thermostat INSTRUCTION MANUAL
OTHER MANUALS:
FASTWARM 16AMP Smart WiFi Thermostat Product Specification Guide
FASTWARM 16AMP Smart WiFi Thermostat User Manual

Leave a Reply