VENSTAR T1119RF ADD-A-WIRELESS THERMOSTAT
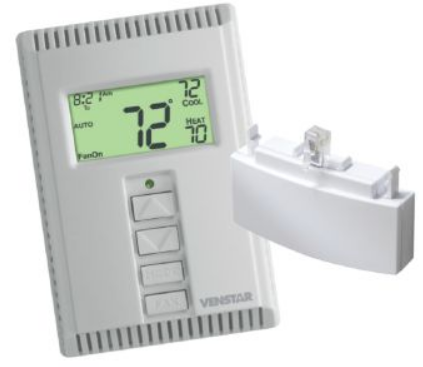
Congratulations on your purchase of the Add-A-Wireless Thermostat accessory. This accessory will allow you to control your T1800 or T1900 thermostat from any location in your home using the hand-held T1100RF Wireless Thermostat.* Operation is simple! When a button is pressed on the T1100RF it will take complete control of the thermostat. From the T1100RF you can change the mode of your thermostat, turn the fan on, and even energize your heating or cooling system. To transfer control back to the T1800 or T1900 thermostat, press any button on that thermostat’s keypad (except for the Outside button). Using the easy four-step installation instructions below, install your new T1100RF Thermo-stat and start enjoying the benefits of Venstar’s patented wireless technology today!*Not all T1800 & T1900 thermostats are compatible. Consult Venstar for a complete listing.
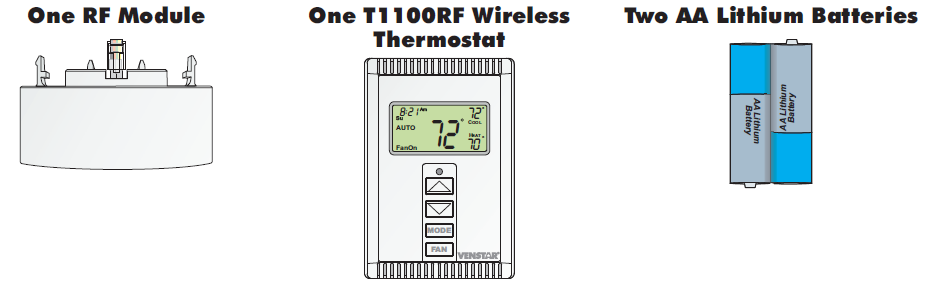
Please locate the following products contained in this box:
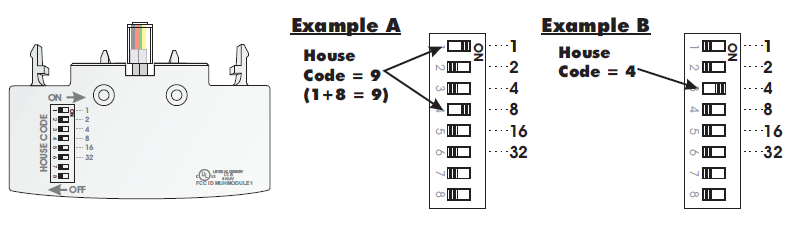
The RF Module and the T1100RF that are contained in the T1119RF package arrive from the factory preset to House Code zero. For this reason, it is not necessary to change the house codes of the T1100RF and RF Module for proper operation. However, if interference is encountered, the house codes may be changed as instructed below. For more information regarding the T1100RF, please consult the T1100RF Owner’s Manual. To set the House Code on the RF Module, add all of the switches that are in the ON position.
 The numbers of each switch are printed on the plastic next to the opening for the switches. This total equals the House Code number. Please disregard the numbers on the switch itself. After the dip switches have been set, plug the RF Module into the base of the thermostat.
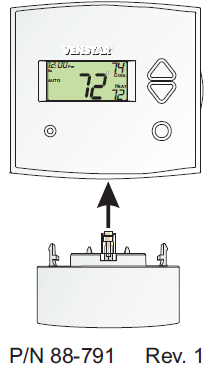
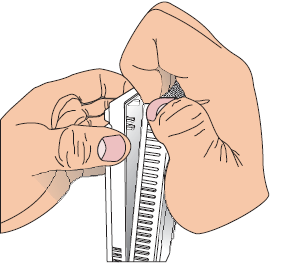
Separate the wireless thermostat from its backplate by pulling the top of the backplate with one hand while pulling on the top corner of the thermostat in your other hand.
Now turn the wireless thermostat over and place the AA Lithium batteries into the battery holder.
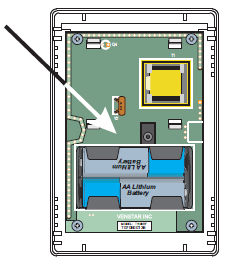
Snap the backplate back onto the thermostat once the batteries have been installed.
Note: After installing the batteries, two dashes will appear momentarily.
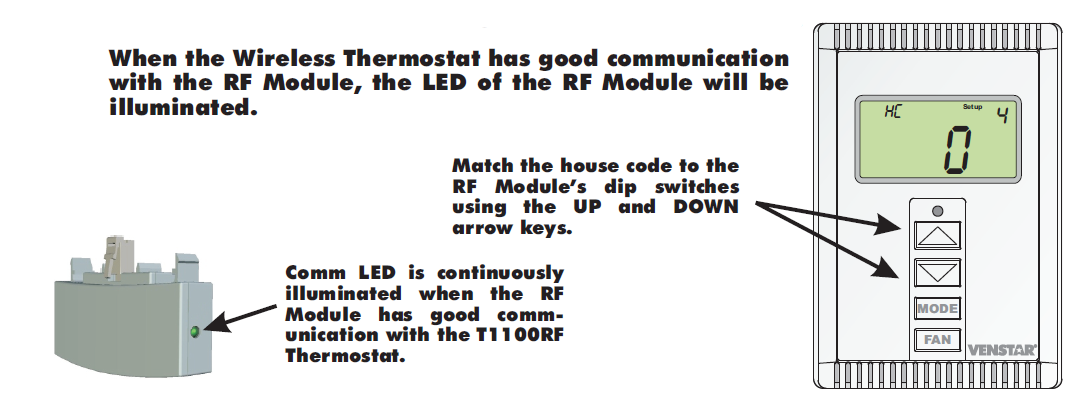
If you wish to change the house code from the factory preset of zero, follow the instructions on page 12 of the Wireless Thermostat Owner’s Manual to enter Advanced Setup. In advanced setup, press the MODE button to advance to setup step #4 on page 13 in the Owner’s Manual. Using the UP and DOWN arrow keys, program the house code you have selected for the RF Module into the Wireless Thermostat. When the Wireless Thermostat has good communication with the RF Module, the LED of the RF Module will be illuminated.
Troubleshooting Tip #1: If the Comm LED on the RF Module is not continuously illuminated, bring the T1100RF Thermostat within five feet of the RF Module. If the Comm LED still does not illuminate try adjusting the house code setting or check the batteries of the T1100RF thermostat.
Troubleshooting Tip #2: If the RF Module has been connected to a T1800 or T1900 thermostat that is not compatible, the Comm LED will blink rapidly to announce this error. This device complies with Part 15 of the FCC Rules. Operation is subject to the following two conditions: (1) this device may not cause harmful interference, and (2) this device must accept any interference received, including interference that may cause undesired operation.©Venstar Inc. 04/08 – Patent Pending
Reference
Download Manual:
VENSTAR T1119RF ADD-A-WIRELESS THERMOSTAT Installation Guide
OTHER MANUALS:
VENSTAR T1119RF ADD-A-WIRELESS THERMOSTAT Product Specifications Guide
![]()
VENSTAR T1119RF ADD-A-WIRELESS THERMOSTAT Installation Guide